Table of Contents
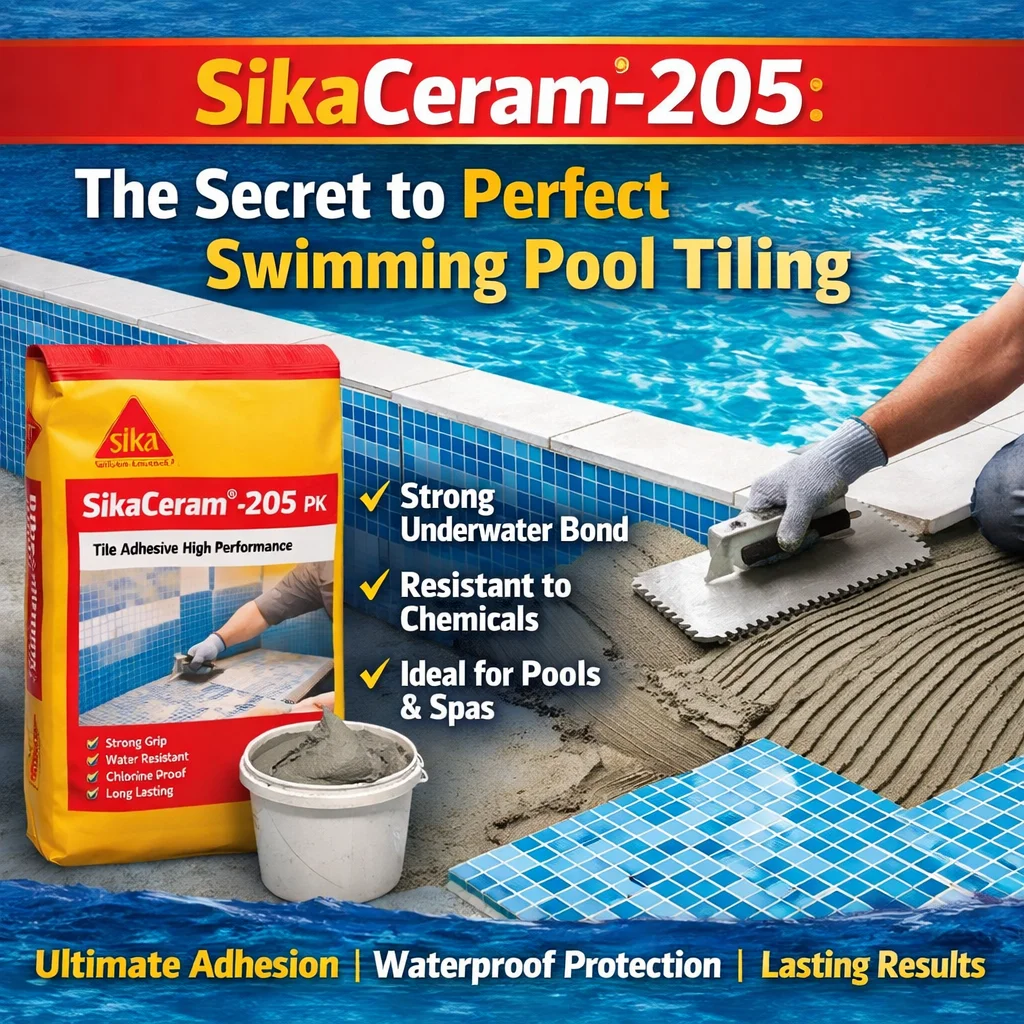
Sika Ceram-205: The Secret to Perfect Swimming Pool Tiling
Introduction
There’s something magical about the moment you first fill a newly tiled swimming pool. The way sunlight dances across the water, reflecting off pristine tiles that line the walls and floor—it’s a vision of perfection. But beneath that beautiful surface lies a hidden world of engineering, chemistry, and craftsmanship that determines whether your pool remains a source of joy or becomes a perpetual headache.
I learned this lesson the hard way during my first pool tiling project a decade ago. We used standard tile adhesive, cut corners on preparation, and within six months, tiles were popping off like loose teeth. The homeowner was heartbroken, and I was humiliated. That failure sent me on a journey to understand what truly makes pool tiling successful.
The secret, I discovered, lies in choosing the right materials—and at the top of that list is Sika Ceram-205, a cementitious tile adhesive that has transformed how professionals approach swimming pool installations. Today, I want to share why this product deserves a spot in every tiler’s toolkit and how it can mean the difference between a pool that fails and one that lasts generations.
Why Swimming Pools Demand Specialized Tiling Solutions
Before we dive into the specifics of Sika Ceram-205, we need to understand why swimming pools present such unique challenges for tile installation.
The Relentless Assault of Water
A swimming pool isn’t just wet—it’s a chemically aggressive environment. Chlorine, pH balancers, and algaecides constantly attack the materials holding your tiles in place. Meanwhile, the sheer volume of water exerts hydrostatic pressure against every square inch of tiled surface .
Standard tile adhesives simply aren’t designed for this level of punishment. They may hold up in a bathroom or kitchen, but submerge them in a pool environment, and they’ll eventually surrender.
Thermal Stress and Movement
Consider what happens to a pool throughout the year. In summer, the water warms, causing the pool structure to expand. In winter, temperatures drop, and everything contracts. This constant cycle of movement places enormous stress on tile bonds . Without an adhesive that can flex slightly while maintaining grip, tiles will eventually crack or detach.
The Substrate Challenge
Pool substrates vary tremendously—from concrete and cement screeds to waterproofing membranes and even existing tiles . Each surface requires specific adhesion characteristics. A one-size-fits-all approach to adhesive selection is a recipe for disaster.
This is precisely why industry experts emphasize that proper pool tiling requires meticulous attention to detail and products specifically engineered for submerged applications .
Sika Ceram-205: Engineered for Excellence
Enter Sika Ceram-205, a polymer-modified, cementitious tile adhesive that belongs to the C2TE classification under EN 12004 standards . But what does that alphabet soup actually mean for your swimming pool?
Understanding the C2TE Classification
The “C2” designation indicates this is an improved cementitious adhesive with enhanced adhesion properties. It’s not your basic hardware store tile glue—this is professional-grade material.
The “T” stands for reduced slip on vertical surfaces. When you’re tiling pool walls, the last thing you want is tiles sliding down before the adhesive sets. Sika Ceram-205 provides exceptional slump resistance, keeping your tiles exactly where you place them .
The “E” indicates extended open time—giving you more working time to adjust tiles before the adhesive begins to skin over. For complex pool installations with curved surfaces or intricate patterns, this flexibility is invaluable .
Key Technical Specifications
Let’s look at what makes this adhesive tick:
Frost Resistance: A Critical Feature
One often-overlooked advantage of Sika Ceram-205 is its frost resistance . In colder climates, pools face freeze-thaw cycles that can destroy inferior installations. Water seeps into microscopic gaps, freezes, expands, and literally pushes tiles off the wall. The polymer modification in Sika Ceram-205 creates a flexible barrier that accommodates this movement without failing.
The Art of Application: Achieving Pool Perfection
Even the best adhesive will fail if improperly applied. Here’s how to ensure your pool tiling project succeeds with Sika Ceram-205.
Step 1: Substrate Preparation—The Foundation of Success
I cannot overemphasize this: preparation determines everything. The substrate must be sound, clean, and free of contaminants like dirt, oil, grease, or cement laitance .
For pool installations, proper waterproofing is non-negotiable. Sika recommends applying a waterproofing membrane to the pool shell before tiling . This creates a secondary barrier that protects the structure even if water eventually penetrates the grout.
Pro Tip: For absorbent substrates like cement screeds, apply a primer such as Sika® Primer-11W+ diluted 1:3 with water. For non-absorbent surfaces like existing tiles, use Sika® Primer-21W . This simple step dramatically improves adhesion.
Step 2: Mixing—Getting It Right
Mixing Sika Ceram-205 requires attention to detail. Use approximately 5.6 liters of clean, cold water per 20 kg bag . Pour the water into a clean container, then gradually add the powder while mixing with a low-speed electric drill (under 500 RPM) fitted with a spiral paddle .
Mix for about three minutes until you achieve a smooth, lump-free consistency. Then—and this is crucial—let the mixture “slake” or mature for three minutes before giving it a final brief mix . This rest period allows the polymers to fully activate, maximizing the adhesive’s performance.
Warning: Over-mixing introduces air bubbles that weaken the bond. Mix just enough to achieve consistency, then stop.
Step 3: Application Techniques for Pool Environments
For swimming pools, application method matters tremendously. Here’s what works:
For standard tile sizes: Apply the adhesive to the substrate using a notched trowel. The notch size depends on your tile dimensions:
- Small tiles: 6 mm notch (~2.5 kg/m² consumption)
- Medium tiles: 8 mm notch (~3 kg/m² consumption)
- Large tiles: 10 mm notch (~4 kg/m² consumption)
For large format tiles (>900 cm²): Always use the double-spreading (buttering) technique. Apply adhesive to both the substrate AND the back of the tile . This ensures 100% coverage, eliminating voids where water could eventually penetrate.
Critical Rule: Tiles must be embedded into freshly applied adhesive while it’s still “wet” and tacky. If a skin forms on the adhesive surface, scrape it off and apply fresh material . That skin prevents proper bonding.
Step 4: Achieving Full Coverage
This is where amateur installations fail. For submerged applications, you need 100% adhesive coverage on the back of every tile . Any gap becomes a potential water path behind the tile, leading to delamination.
Press each tile firmly into place, using a twisting motion to collapse the trowel ridges and ensure complete contact. Check coverage periodically by pulling a random tile—the adhesive should coat the entire back surface.
Step 5: Grouting and Finishing
After allowing proper curing time (4-6 hours for walls, 24-36 hours for floors), you can proceed with grouting . Use a grout specifically designed for wet environments. Sika offers several options that work beautifully with Sika Ceram-205.
Movement Joints: Don’t forget to incorporate movement joints around the pool perimeter and at changes of plane . These joints accommodate structural movement and prevent stress cracks. Fill them with a flexible sealant like Sikasil® Pool, which remains elastic and waterproof .
Why Sika Ceram-205 Outperforms Standard Adhesives
Real-World Performance Data
Laboratory tests tell only part of the story. Sika Ceram-205 maintains tensile adhesion strength of at least 1.0 N/mm² even after:
This means the adhesive you apply today will still be holding strong years from now, despite constant chemical exposure and temperature fluctuations.
Compatibility with Modern Tile Materials
Today’s pools feature everything from classic ceramic to porcelain, stoneware, terrazzo, and even glass mosaics . Sika Ceram-205 bonds effectively with all these materials, giving designers freedom to create stunning visual effects without compromising structural integrity.
For natural stones like marble or granite that may be sensitive to discoloration, Sika Ceram-205’s polymer modification helps prevent staining . The adhesive won’t bleed through translucent tiles or alter the appearance of expensive stone.
Sustainability Considerations
Modern construction increasingly emphasizes environmental responsibility. Sika has responded by developing products that reduce environmental impact while maintaining performance. The company’s commitment to sustainability means you can specify Sika Ceram-205 with confidence, knowing it meets rigorous environmental standards .
Common Pitfalls to Avoid
Even with superior materials, mistakes happen. Here are the most common errors I’ve seen in pool tiling—and how to avoid them:
1. Skipping the Waterproofing Membrane
The Mistake: Applying tile adhesive directly to the pool shell without an intermediate waterproofing layer.
Why It Fails: Concrete is porous. Without waterproofing, water migrating through the structure can carry minerals that effloresce through grout lines, or worse, hydrostatic pressure can push tiles off from behind .
The Fix: Always apply a proper waterproofing membrane system before tiling.
2. Insufficient Curing Time
The Mistake: Filling the pool too quickly after tiling.
Why It Fails: Adhesives and grouts need time to reach full strength. Water exposure during early curing can leach out essential components and weaken the final bond .
The Fix: Follow the recommended waiting times religiously. Sika Ceram-205 requires approximately 21 days before the pool can be filled .
3. Poor Joint Design
The Mistake: Not providing adequate movement joints, or filling them with rigid grout instead of flexible sealant.
Why It Fails: Everything moves—temperature changes, ground settlement, structural loading. Without movement joints, that movement concentrates in the tile field, causing cracks .
The Fix: Follow TCNA Handbook guidelines for movement joint placement and use appropriate sealants .
4. Inadequate Coverage
The Mistake: Assuming adhesive only needs to “hold” the tile, not completely support it.
Why It Fails: Voids behind tiles collect water. Over time, that stagnant water breeds algae and bacteria, and freeze-thaw cycles in cold climates can literally explode tiles off the wall.
The Fix: Back-butter large tiles and check coverage regularly .
The Professional’s Perspective
I recently spoke with a veteran pool builder who has been in the industry for over thirty years. “The difference between a pool that lasts ten years and one that lasts fifty,” he told me, “isn’t the tile—it’s what’s behind the tile.”
He shared a story about a luxury hotel pool he renovated in the 1990s. The original installation had failed catastrophically, with tiles raining into the water during a busy holiday weekend. “They used cheap adhesive trying to save money,” he explained. “Cost them ten times more in repairs and lost business.”
His team rebuilt that pool using Sika Ceram-205 and proper waterproofing. “Twenty-five years later, it’s still perfect. Not one loose tile.”
That’s the power of choosing the right materials from the start.
Beyond the Pool: Other Applications for Sika Ceram-205
While we’ve focused on swimming pools, Sika Ceram-205 excels in many demanding environments:
- Balconies and terraces exposed to weather
- Heated floors requiring thermal movement accommodation
- Commercial kitchens with chemical exposure
- Wet rooms and shower areas
- Facade tiling subject to temperature extremes
Its versatility makes it a staple in professional tilers’ toolkits worldwide.
Conclusion: Invest in What’s Behind the Tile
There’s an old saying in construction: “A chain is only as strong as its weakest link.” In swimming pool tiling, the adhesive is that link—the invisible hero that holds everything together.
Sika Ceram-205 represents the gold standard for pool tile installation. Its C2TE certification, proven performance in submerged conditions, and compatibility with diverse substrates make it the professional’s choice for projects that need to last.
When you’re planning your next pool project—whether a backyard oasis or a commercial facility—don’t cut corners on materials. The few rupees saved on inferior adhesive will vanish the first time a tile falls off. Invest in Sika Ceram-205, follow proper installation practices, and enjoy the peace of mind that comes with knowing your beautiful pool will remain beautiful for decades to come.
Ready to Start Your Pool Project?
At Sika Chemicals Pakistan, we’re committed to helping you build stronger, longer-lasting structures. Our team of technical experts can answer your questions, provide application guidance, and ensure you have the right products for your specific needs.
Call us today at 03329015232 or email sikachemicals26@gmail.com to discuss your project. Visit our store to explore our complete range of Sika products, from adhesives and waterproofing to grouts and sealants.