Table of Contents
Fixing Cracks in Your Roof with Sikadur-20 Crack Seal: A DIY Guide
Introduction: The Drip That Drives You Crazy
There is a specific type of anxiety that comes from hearing a drip… drip… drip into a bucket at 2 AM. You know the one. You’ve probably already done the temporary fix—the cheap sealant tape from the corner store, or maybe a glob of bitumen that looked like a black tumor on your beautiful concrete ceiling.
A few weeks later, the leak is back.
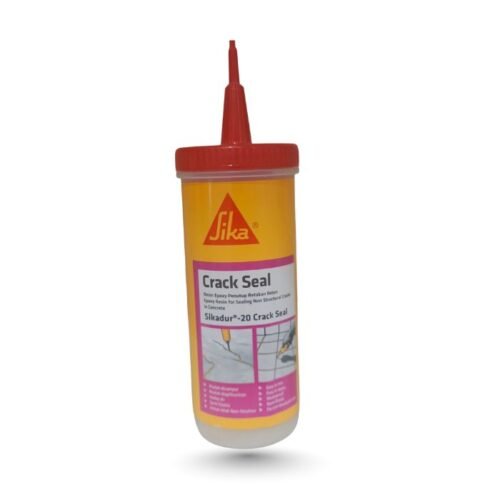
When it comes to Fixing Cracks in Your Roof with Sikadur-20 Crack Seal, you aren’t just buying a tube of glue; you are buying a chemistry lesson in a bottle. Unlike standard fillers that sit on top of the concrete, this is a low-viscosity, two-component epoxy resin designed to flow into the damage and become one with the slab.
I’ve seen too many homeowners in Pakistan slap paint over hairline fractures, thinking it will hold. It won’t. Water always finds the path of least resistance. Let’s look at why this specific epoxy is the industry standard for non-structural cracks and how to apply it like a pro.
The “Why” Behind the Epoxy
Before we get our hands dirty, we need to understand the enemy: Concrete movement.
Concrete is rigid, but your house moves (settling, heat expansion, vibration from traffic). Standard fillers dry hard and brittle. When the crack tries to move naturally, the brittle filler snaps, and the leak returns.
Sikadur-20 is unique because it is semi-elastic . It acts like a rigid structure but bends slightly under stress. According to the technical data sheet, it boasts a tensile adhesion strength of ~2.0 N/mm²—which is technical jargon for “it isn’t letting go” .
Here is what separates this epoxy from the hardware store tape:
- Low Viscosity: It has the consistency of thin oil (approx. 90mPa·s), allowing it to seep into cracks as thin as 1mm .
- Damp Tolerant: In Pakistan, we often can’t wait three days for the sun to dry the roof completely. This epoxy works on damp surfaces (though not standing water) .
- Zero Shrinkage: Many pastes dry and shrink, leaving a concave channel for water to pool in. This epoxy cures flush with the surface .
A Tale of Two Chemistries (How to Spot a Failure)
When researching user experiences for Fixing Cracks in Your Roof with Sikadur-20 Crack Seal, I noticed a split in the reviews. Some users called it a “miracle cure,” while others claimed it “peeled off” .
The difference usually comes down to surface preparation and UV exposure.
One reviewer noted that on roof tiles, the product turned white and peeled . Why? Because while this epoxy is a structural god, it is not a top-coat finish. Epoxies generally dislike prolonged, direct UV sunlight. If you are fixing an exposed roof, you must either cover the repair with cement (more on that below) or use a UV-resistant top coat.
Conversely, a user who used it on a concrete slab roof said: “I used it to pack the cracks in the concrete slab… its quite effective and cures very quickly” .
The lesson? Read the room (and the sun exposure).
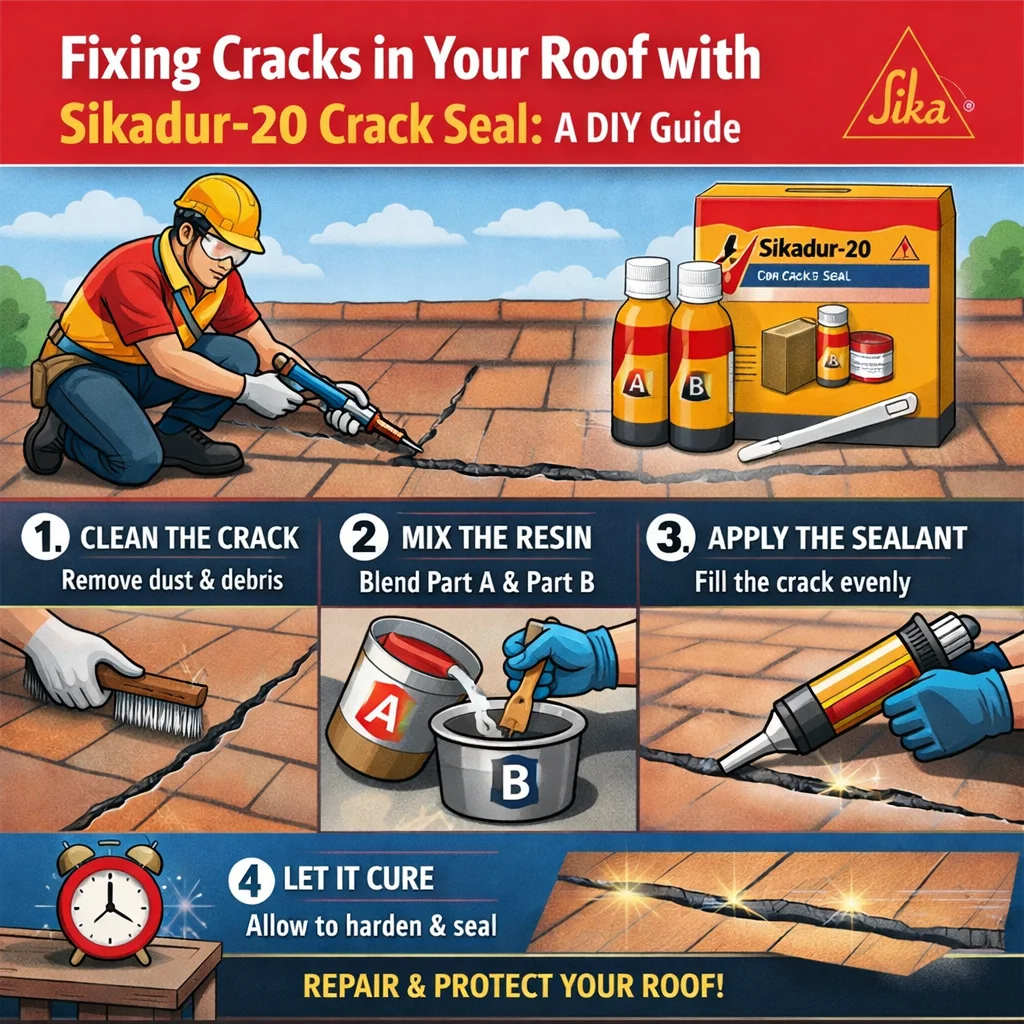
The Step-by-Step Application Guide
Let’s walk through the repair. This is the method recommended by Sika Malaysia and verified by contractors .
1. Grooving (The “V” Cut)
You cannot just pour epoxy on a hairline scratch. Use a grinder or a sharp tool to widen the crack into a “V” shape. This creates a channel for the epoxy to sit in and gives it a mechanical lock. The product data sheet suggests a maximum width of 10mm for optimal results .
2. Cleaning is Sacred
Remove all dust, old sealant, and debris. If there is oil or grease, the epoxy won’t stick. A wire brush followed by a vacuum or compressed air is best.
3. The Mixing (Timing is Everything)
You have two bottles (Part A and Part B).
- Mix them 1:1 by volume.
- Crucial Tip: Do not stir with a stick. Pour both parts into a clean container and invert the bottle 15 to 20 times .
- The 20-Minute Clock: Once mixed, the “pot life” is only 20 minutes at 30°C . In the Pakistani summer, you might have even less time. Mix only what you can use immediately. One reviewer noted that if left idle, the bottle gets hot and hardens into a brick .
4. Injection
Pour the mixed liquid directly into the groove. Because of its low viscosity, it will self-level and seek the deepest parts of the crack.
5. The “Pro” Finishing Trick (Very Important)
For a seamless look, don’t leave the pure epoxy exposed to the sun.
- The Recipe: Take your mixed Sikadur-20 and mix in ordinary cement powder (Ratio: 1 part epoxy mix to 2 or 3 parts cement) .
- The Result: This creates a paste that matches the color of your roof, offers better UV resistance, and can be troweled flat.
Fixing Cracks in Your Roof with Sikadur-20 Crack Seal: The Verdict
Conclusion: Stop the Band-Aid Fix
Living with a leaking roof is a miserable experience. It damages your paint, your furniture, and your mental health. While Fixing Cracks in Your Roof with Sikadur-20 Crack Seal requires a bit more precision than ripping a roll of tape, the results are incomparable.
The key takeaway from user experiences is simple: Prepare the surface, respect the 20-minute pot life, and use the cement filler trick for sun-exposed areas.
You don’t need to be a civil engineer to stop a leak. You just need the right chemistry and a little patience.
Ready to Fix That Leak for Good?
Don’t settle for temporary fixes that fail with the next rain. Get the authentic, industrial-strength solution delivered to your doorstep.
[Shop the Sikadur-20 Crack Seal Collection at Sika Chemicals Pakistan]
Have a tricky repair situation? Drop a comment below or contact our support team for expert advice tailored to your specific roof type.